How to Build Beautiful Portrait Light with a Single Off-Camera Flash
The human eye can detect over 500 shades of gray—but most photographers rely on just one: the harsh, flat light from their camera's built-in flash. That's a staggering limitation when you consider what a single off-camera flash can unlock. This guide walks you through the practical steps to transform your portraits from snapshot-quality to studio-caliber using just one light source and a few smart techniques.
Why Does Off-Camera Flash Look Better Than On-Camera?
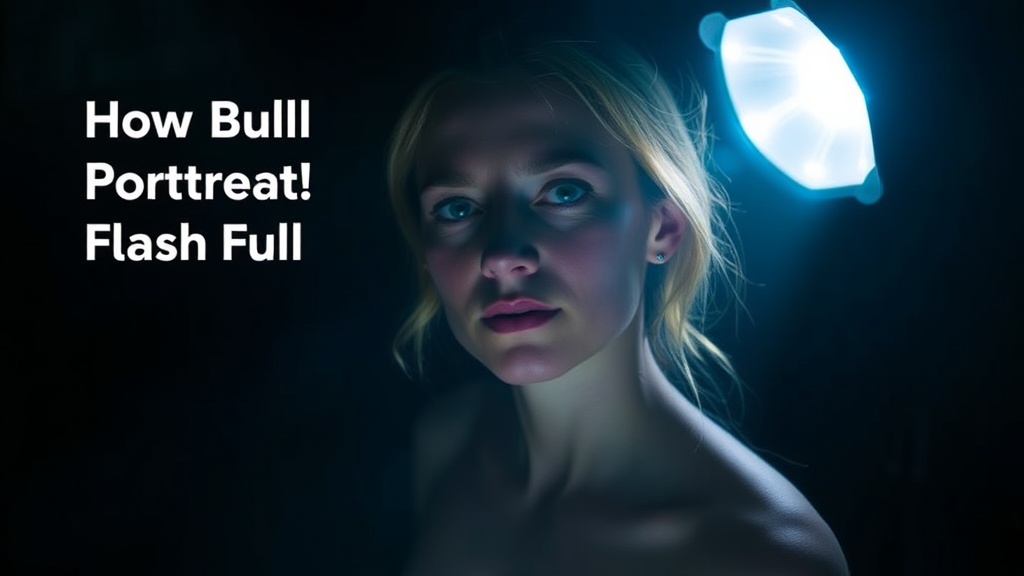
When your flash sits directly above your lens, light hits your subject head-on—eliminating shadows that create depth and dimension. It's the photographic equivalent of a deer caught in headlights. Move that same flash just a few feet to the side, and everything changes.
Off-camera flash creates directional light that sculpts faces, emphasizes texture, and separates your subject from the background. The shadows fall naturally—just like sunlight streaming through a window or streetlight cutting through evening haze. You're not just illuminating your subject; you're building a three-dimensional look on a two-dimensional sensor.
The difference isn't subtle. Portrait photographers have known this for decades—it's why studio setups universally place lights at angles rather than dead-center. The good news? You don't need a full studio to achieve this. A single speedlight on a light stand with a wireless trigger is enough to get started.
What Gear Do You Actually Need to Get Started?
Let's cut through the equipment anxiety. Here's the minimal viable kit:
- One speedlight (Godox TT600, Yongnuo YN560, or any brand-name alternative)
- A light stand—something that extends to at least 7 feet
- A wireless trigger system (radio triggers like Godox X1 or Yongnuo RF-603)
- A modifier—start with a 43-inch white shoot-through umbrella (cheap and forgiving)
- An umbrella bracket to mount the flash and modifier together
That's it. This setup runs under $200 if you shop carefully—far less than most photographers spend on a single lens. The umbrella spreads and softens the light, creating flattering illumination that works on virtually every face. As you grow, you might add softboxes, beauty dishes, or grids—but the fundamentals never change.
One often-overlooked detail: bring sandbags or weights for your stand. A speedlight and umbrella become a sail in any breeze. Protect your gear (and your subject) by stabilizing everything before you start shooting.
Where Should You Position the Light for Flattering Results?
Positioning is where technique separates pros from beginners. The classic starting point—the 45/45 rule—places your light 45 degrees to the side of your subject and 45 degrees above. This creates a small shadow under the nose, subtle shadowing on the cheek opposite the light, and dimension across the face.
But rules exist to be tested. Move the light closer for softer, more dramatic falloff. Push it farther back for harder shadows and more contrast. Raise it higher to create butterfly lighting (a small shadow directly under the nose). Drop it lower for horror-movie effects—or interesting artistic choices if that's your style.
The distance between light and subject matters enormously. Light follows the inverse square law—move the flash twice as far away, and you get one-quarter the light intensity. More importantly, closer light sources create softer transitions between highlights and shadows. This is why big studio softboxes exist: size relative to the subject determines light quality, not just the modifier type.
Experiment with placement. Shoot a series moving the light in 15-degree increments around your subject. You'll quickly develop an intuitive sense of what each position produces—and when to break the rules intentionally.
How Do You Balance Flash with Ambient Light?
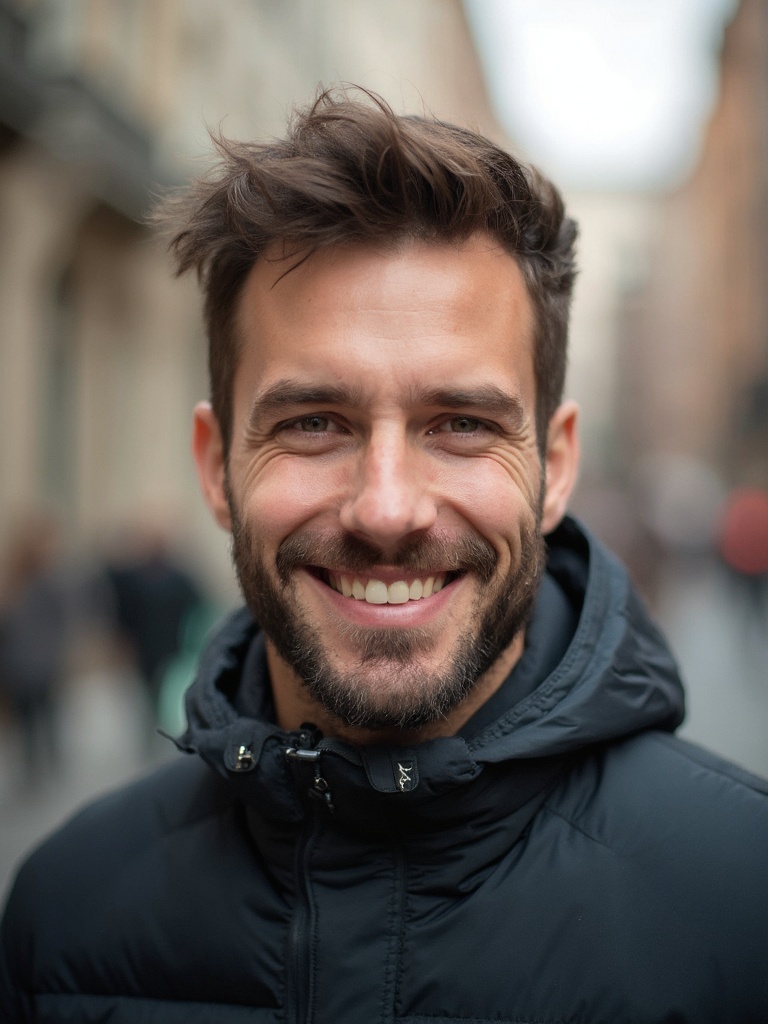
The magic of off-camera flash isn't just about the flash itself—it's about the relationship between your artificial light and the existing environment. Pure black backgrounds (from killing all ambient light) look dated. Instead, most contemporary portraits blend flash with available light for a natural, believable result.
Start by setting your ambient exposure without flash. In manual mode, choose settings that give you a slightly underexposed background—maybe one stop darker than "correct" exposure. Your subject will look too dark, but that's intentional. Now add flash to bring them to proper exposure. The result? A properly lit subject against a moody, atmospheric background.
Shutter speed controls ambient light; aperture and ISO affect both ambient and flash. This gives you tremendous creative control. A slow shutter (1/60s or slower) lets in more environmental light—great for cityscapes or golden hour backgrounds. Fast shutter speeds (up to your camera's sync limit, typically 1/200s or 1/250s) darken the background while keeping flash exposure constant.
For more advanced techniques, DPReview's comprehensive guide covers high-speed sync and other methods for shooting wide apertures in bright conditions.
What Common Mistakes Should Beginners Avoid?
Everyone stumbles when learning off-camera flash. Here are the pitfalls I see most often:
Overpowering the scene. New flash photographers tend to blast too much light, creating that "flashed" look they're trying to escape. Start with your flash on low power—1/8 or 1/16—and build up gradually. You want the light to look like it belongs there, not like an alien invasion.
Ignoring the background. A beautifully lit subject against a cluttered, distracting background still produces a weak image. Position your subject thoughtfully relative to what's behind them. Look for clean walls, open shade, or backgrounds that complement—not compete.
Hard shadows everywhere. Unless you're deliberately creating drama, use fill to soften shadows. A simple white reflector opposite your main light (opposite side, closer to the subject) bounces light back into shadow areas, preserving detail without eliminating dimension. Professional reflectors fold into compact circles; a piece of white foam core from any craft store works just as well.
Inconsistent exposures. When your subject moves even a foot, flash exposure changes. Develop the habit of checking histograms and reviewing images—don't trust your LCD in bright conditions. Small adjustments to flash power or aperture keep everything consistent.
The photographers at Advanced Photoshop have documented additional lighting patterns worth studying as you develop your eye.
How Can You Practice and Improve?
Lighting skill comes from repetition, not theory. Set up a simple home studio corner—garage, basement, or living room—and photograph friends, family, or even household objects. Apples and eggs make excellent practice subjects; they show highlights and shadows clearly, and they don't get impatient.
Shoot daily if possible. Twenty minutes of intentional practice beats an occasional weekend marathon. Document your setups—take phone photos showing light position relative to subject. When you get results you love, you'll know exactly how to recreate them.
Study photographers who excel with simple lighting. David Hobby's Strobist blog remains the definitive free resource for off-camera flash education, with years of Lighting 101 tutorials that break down complex techniques into manageable steps. Joey Lawrence and Martin Schoeller built careers largely on single-light techniques—proof that mastery of fundamentals outshines equipment accumulation.
Challenge yourself with constraints. Shoot an entire session with just one light and one modifier. Restrict yourself to one lens. Limit yourself to ten frames per setup. Constraints breed creativity—they force you to solve problems with technique rather than gear.
The goal isn't perfection on day one. It's progress through deliberate practice, building instincts that let you walk into any situation and know immediately how to build beautiful light. That confidence transforms photography from frustrating guesswork into intentional craft.