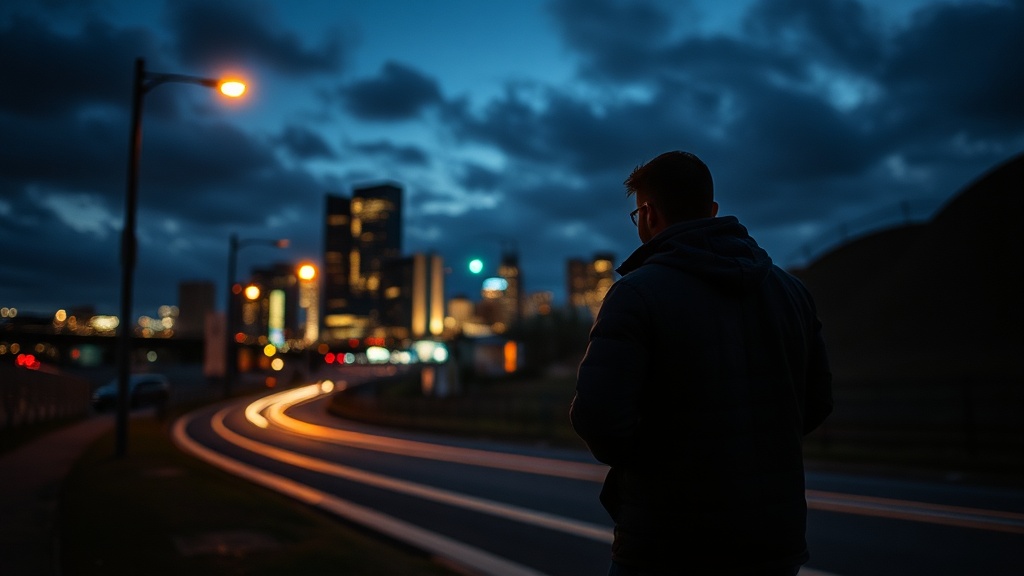
Why Shooting RAW Gives You the Freedom to Fix Mistakes Later

Here's a surprising fact that might change how you think about file formats: a JPEG captures only 256 levels of brightness per color channel, while a typical RAW file from a modern mirrorless camera captures anywhere from 4,096 to 16,384 levels. That difference—between 8-bit and 12-bit or 14-bit files—isn't just technical trivia. It translates directly into how much you can recover from shadows, how far you can push highlights, and whether that once-in-a-lifetime shot becomes a keeper or ends up in the trash folder.
Many photographers shoot JPEG because the files look good straight out of camera, they're smaller, and they don't require special software to open. But the JPEG format throws away information forever during compression—and you can't get it back. This post explains exactly what RAW files offer, when the trade-offs make sense, and how to build a workflow that doesn't slow you down.
What exactly is a RAW file, and why does it contain more information?
A RAW file isn't really an image file at all—it's a data dump straight from your camera's sensor. Think of it as the digital equivalent of an undeveloped film negative. When you press the shutter, your camera records the raw photon counts from each photosite on the sensor. No white balance applied. No sharpening. No contrast curves. No compression artifacts. Just the numbers.
Your camera's processor normally takes that raw data, applies a picture profile (Standard, Vivid, Portrait, or whatever you've selected), bakes in white balance settings, compresses everything into 8-bit color, and saves it as a JPEG. That process is destructive. The RAW file preserves the original data, giving you the chance to make those decisions yourself in software with far more precision.
The extra bit depth matters more than most people realize. In an 8-bit JPEG, the difference between adjacent brightness levels is relatively large. When you try to pull detail out of dark shadows or recover blown highlights, you hit banding—those ugly stair-step transitions between tones that scream "overprocessed." A 14-bit RAW file contains exponentially more tonal information, which means smoother gradients and more recoverable detail at the extremes of your exposure.
White balance is another area where RAW files shine. JPEGs bake in your camera's white balance setting permanently. Shoot daylight at 5500K but forget to change from tungsten (3200K)? Your image will have a strong orange cast that's difficult to correct without damaging color fidelity. A RAW file records the actual color temperature of the light hitting the sensor, letting you adjust white balance losslessly after the fact—no quality penalty whatsoever.
How much shadow and highlight recovery is actually possible with RAW?
This is where the rubber meets the road. Most photographers have heard that RAW files offer more "dynamic range," but what does that look like in practice?
Modern full-frame cameras from Sony, Canon, and Nikon can typically recover 2-3 stops of underexposure without significant noise penalties. That means if you accidentally underexpose by two full stops—a photo shot at ISO 400 that should have been ISO 100—you can brighten it in post with results nearly indistinguishable from a properly exposed shot. Try that with a JPEG, and you'll reveal noise, banding, and muddy colors that no amount of editing can fix.
Highlight recovery is more limited but still significant. If you've blown out small specular highlights—reflections on water, bright sky visible through windows—a RAW file often retains enough information to pull them back to textured tones. JPEGs clip highlights permanently. Once they're white, they're white forever.
That said, RAW isn't magic. Severely overexposed highlights (more than 2-3 stops over) are usually gone for good because the sensor's photosites simply filled up and stopped recording data. The real-world advantage is in the margins—those situations where you metered for shadows and the highlights are slightly blown, or where you exposed for the sky and the foreground is too dark. RAW gives you the flexibility to make those calls later.
"The best exposure for RAW capture is usually the one that preserves your highlights, knowing you can lift the shadows later. This is ETTR—Expose To The Right—and it's a fundamental technique for maximizing image quality."
This approach differs from film-era thinking, where you'd expose for the shadows and develop for the highlights. Digital sensors behave more like slide film in the highlights (unforgiving when overexposed) but more like negative film in the shadows (very forgiving when underexposed). Understanding this characteristic helps you make better exposure decisions in the field.
Does shooting RAW slow down your workflow, and how can you speed it up?
The most common objection to RAW is workflow speed. RAW files are larger—typically 25-50MB each versus 5-10MB for JPEGs. They require conversion before sharing. They need more storage space. These are real considerations, but they're manageable with the right approach.
Modern computers handle RAW files efficiently. Adobe Lightroom, Capture One, and DxO PhotoLab all offer excellent RAW processing engines that render previews quickly. If you're batch-processing hundreds of images from an event, the time difference between editing RAW versus JPEG is negligible—maybe a few seconds per image. For most photographers, that small time investment pays dividends when you need to rescue a critical shot.
Storage is cheaper than ever. A 4TB external drive costs under $100 and holds roughly 80,000 RAW files from a 24MP camera. Cloud backup services like Backblaze offer unlimited storage for $7 per month. The storage cost of shooting RAW in 2026 is a rounding error compared to the cost of lenses, bodies, or even memory cards.
One practical workflow tip: shoot RAW+JPEG if your camera supports it. This gives you JPEGs for quick sharing and social media, plus RAW files for anything you want to develop further. Most cameras let you specify a smaller JPEG size for the simultaneous capture, minimizing storage impact while preserving the instant usability of JPEGs.
Software options worth considering
Adobe Lightroom remains the industry standard for RAW processing, offering robust cataloging alongside its Develop module. Capture One is preferred by many studio photographers for its superior color science and tethering capabilities. DxO PhotoLab offers the best lens correction and noise reduction algorithms in the business. For a free option, darktable and RawTherapee are surprisingly capable.
The key is picking one program and learning it deeply. RAW processing is a skill—understanding how to use the tone curve, when to apply local adjustments versus global ones, and how to balance noise reduction against detail preservation takes practice. But the fundamentals are simple: start with proper exposure, adjust white balance, set a good starting point with your tone curve, then refine with targeted adjustments.
When should you actually choose JPEG instead of RAW?
Despite everything I've written, there are legitimate situations where JPEG makes sense. Sports photographers shooting massive bursts might need the smaller file sizes to clear their camera buffers faster. Photojournalists on deadline sometimes need images ready to transmit immediately. Casual snapshots that you'll never edit—photos of your dinner, quick family moments, documentation shots—don't always merit the RAW treatment.
The decision isn't binary, either. Many photographers shoot RAW for paid work, serious personal projects, and anything where image quality matters, but switch to JPEG for casual shooting or when they know they'll need immediate sharing capability. Your camera likely has a quick menu option to change file formats—learn where it is.
What matters is making a conscious choice rather than defaulting to JPEG out of habit or misunderstanding. If you've been avoiding RAW because you heard it was "too complicated" or "only for professionals," you're leaving image quality on the table for no good reason. The learning curve is gentle—anyone who can adjust exposure compensation and white balance in a JPEG editor can do the same in a RAW processor, with better results.
RAW files aren't magic bullets. They won't fix poor composition, bad timing, or missed focus. But they do give you significantly more latitude to correct exposure mistakes, adjust white balance, and recover detail in challenging lighting. For any image you care about keeping, that extra data—the thousands of additional tonal levels, the unprocessed sensor information, the flexibility to reinterpret the capture—is worth the modest costs in storage and processing time.
The next time you're setting up your camera, scroll through the image quality menu and select RAW. Your future self—staring at an underexposed keeper on your computer screen—will thank you.